Quick Setup
End-to-end setup from a fresh plugin install to a working customer login URL — usually under ten minutes. Assumes your Stripe account already has the Customer Portal enabled and a Secret API key in hand.
Checklist#
- Install and activate the plugin.
- Complete Stripe prerequisites (portal enabled, API key ready).
- Open Stripe Portal in the WordPress admin menu.
- Enter your Stripe Secret Key.
- Set the Customer Portal Slug (default:
customer-portal). - Optionally set a Redirect URL for after customers exit the portal.
- Click Save Changes.
- Go to Settings → Permalinks and click Save Changes (no edits required — this flushes rewrite rules).
- Visit
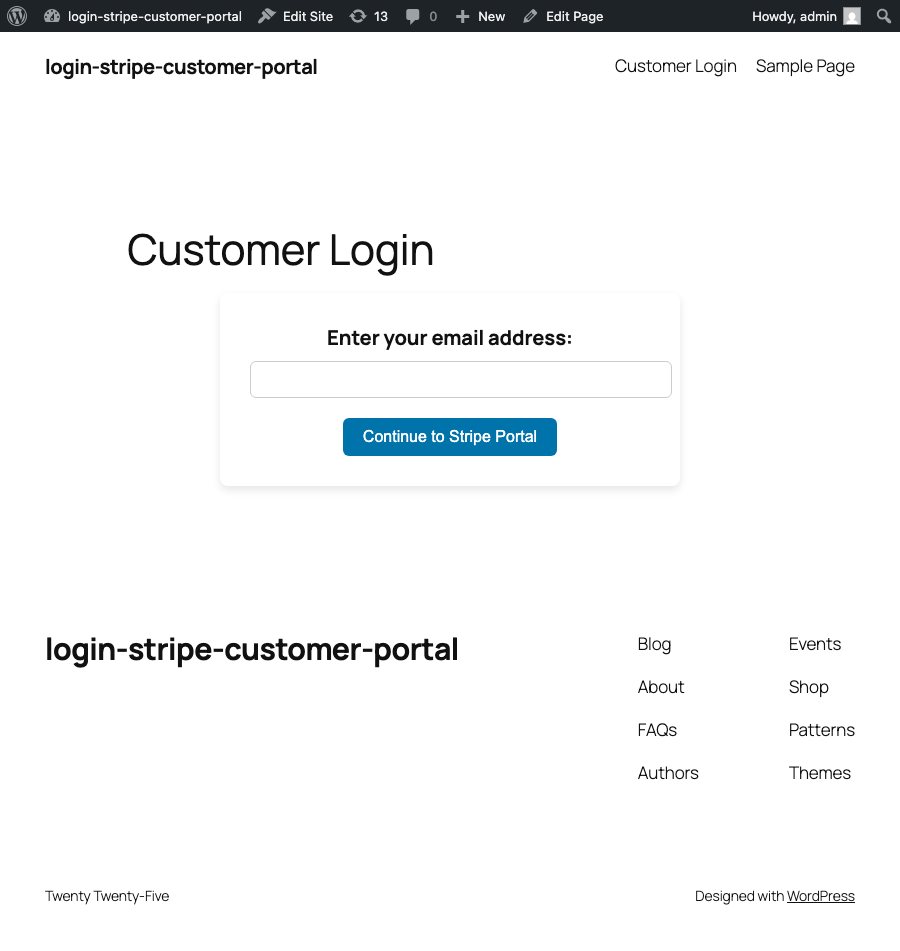
https://yoursite.com/customer-portal/(or your custom slug) and test with a customer email. - Optionally embed
[login-stripe-customer-portal]on any page.
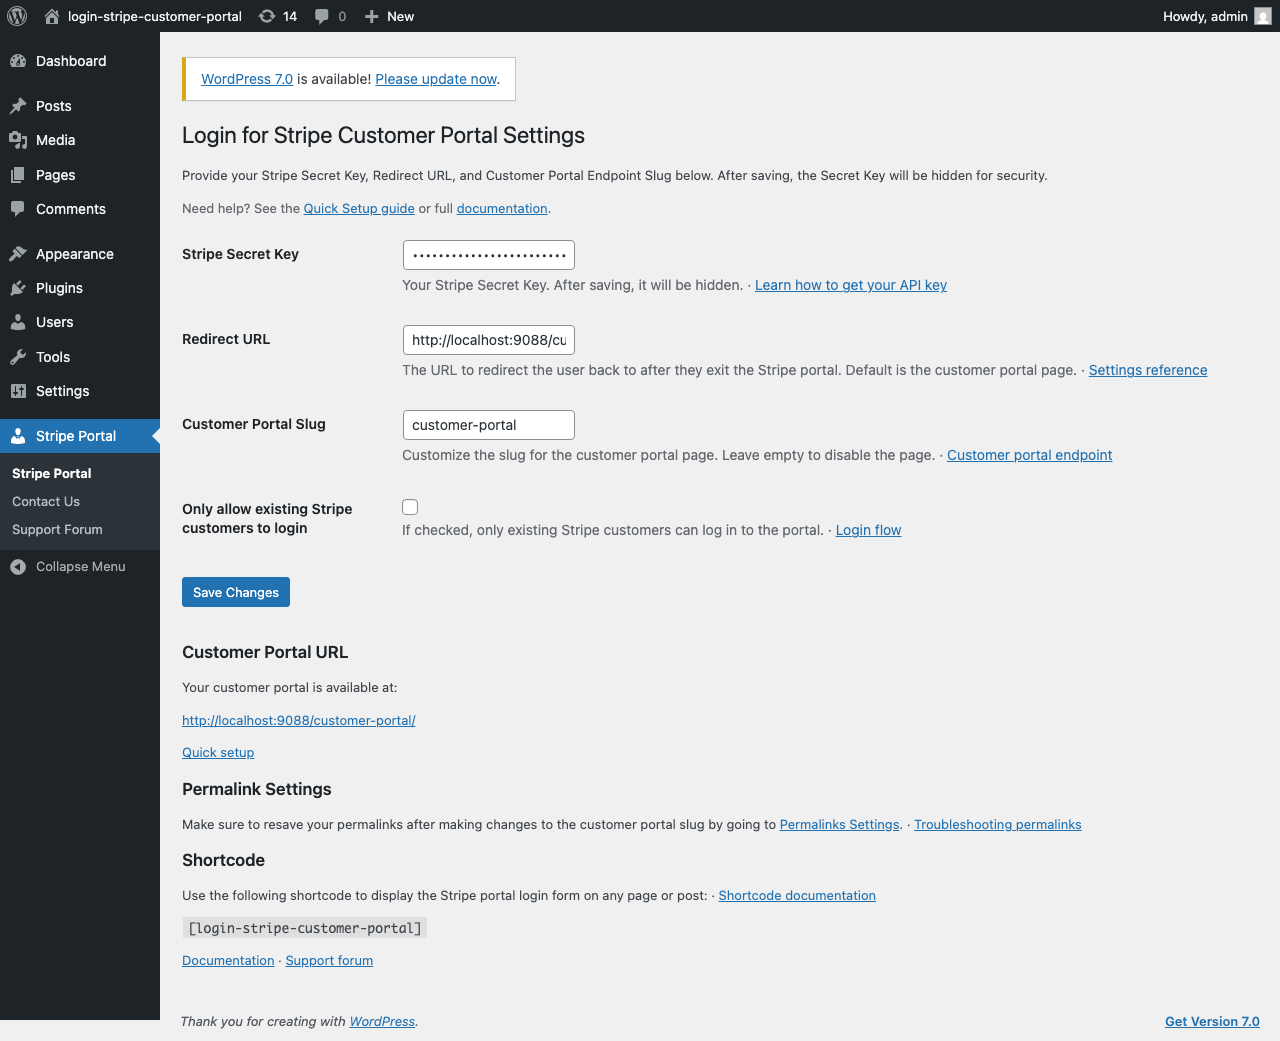
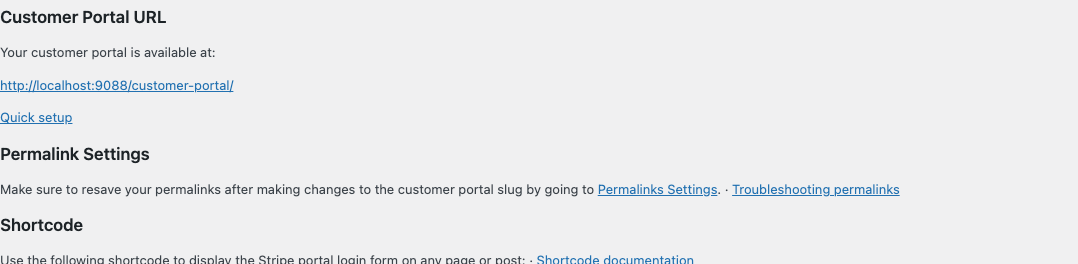
After saving, the settings page shows your Customer Portal URL and the shortcode to embed the form.
Permalinks#
The dedicated login URL uses WordPress rewrite rules. After changing the portal slug, resave permalinks:
Settings → Permalinks → Save Changes
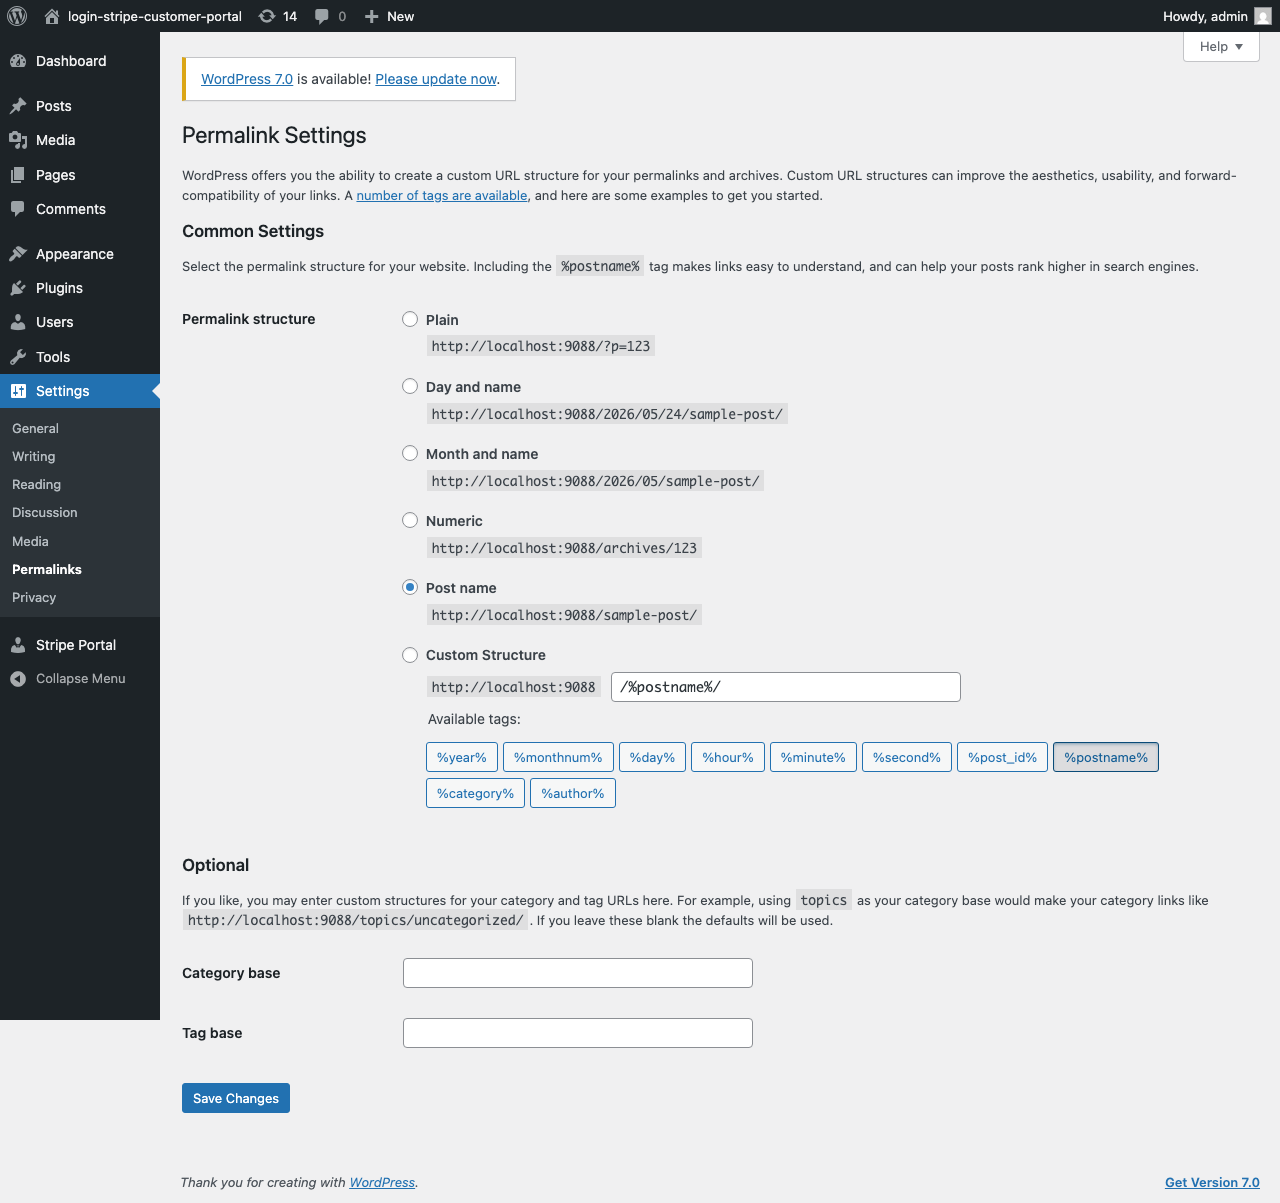
If /customer-portal/ returns a 404, permalinks are the most common fix. See Troubleshooting.
Test the login flow#
- Open your customer portal URL in a private browser window.
- Enter an email address that exists as a Stripe customer (or any email if you allow new customers).
- Check the inbox for Login to Stripe Customer Portal (see Login Flow).
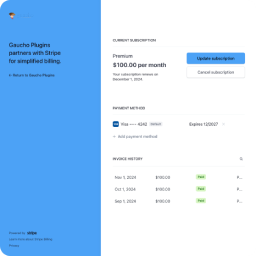
- Click the link within one hour — you should land in Stripe's Customer Portal.
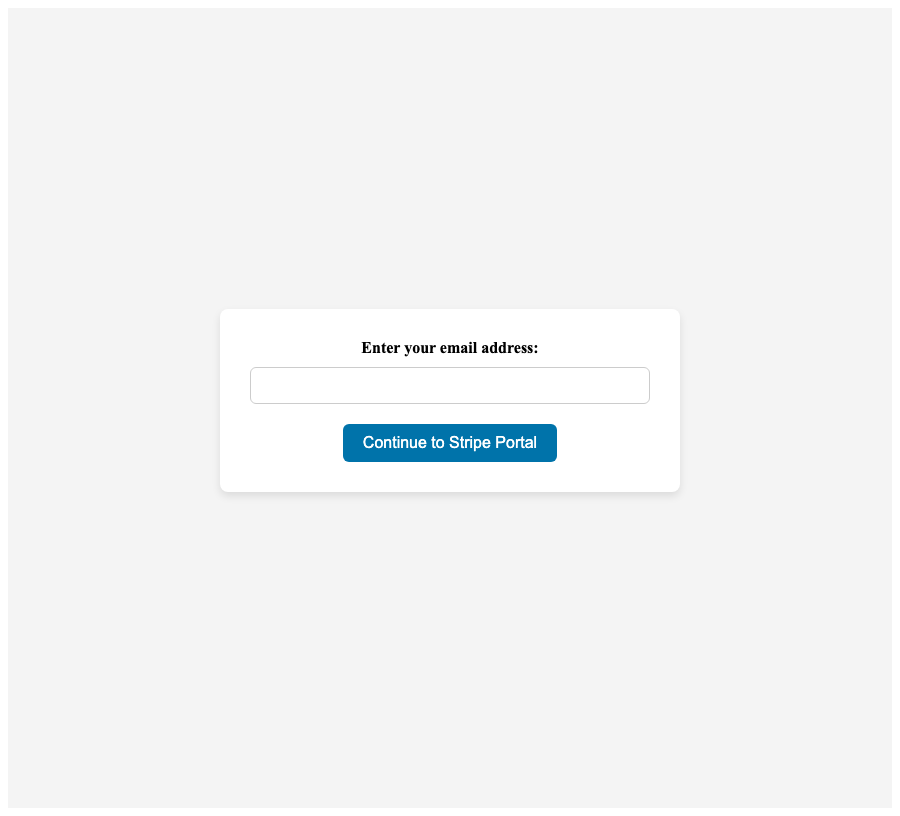
Optional: embed with shortcode#
Create or edit a page and add:
[login-stripe-customer-portal]